This is a hack using the ZW Bell Jacket pattern to make a version that uses a pre quilted length of fabric. You can quilt one yourself, this will require an outer fabric a wadding and a 'lining' fabric, all 3 layers should be quilted together and I recommend not making it too thick as the collar can get very bulky to put together otherwise. Below is the fabric I have used for this fabric, a beautiful quilted cotton from Merchant and Mills.
There are some changes made to the pattern and sewing techniques to complete the quilted jacket. The full pattern layout can be found in the ZW Bell Jacket Instruction Booklet. The below outlines the sewing steps required to make this hack, the full cutting plan can be found in the PDF Instruction Booklet.

1. Sew the centre back inverted pleat on the back neck, the pleat should be pressed in place down to the stitch line and then you can sew across the bottom of it to hold it in place here, through all layers. OR if you prefer you can hand tack it in place from the inside so that the stitch line is not visible on the outside of the garment.


2. Sew the shoulder together then bind the edges together using a lightweight binding (if your fabric is a bit thick then you can bind the edges separately, sew together, then press open).


3. Mark out your sleeve hem darts on the inside, making sure that you remove 5cm from the bottom of the templates first. Bind the sleeve side seams separately then sew side seams together, taking in at the bottom towards the hem according to the template. Press seams open and sew the remaining darts. Press darts to one side and stitch down around the hem to hold in place. Sew the sleeves into the armholes and overlock the seams together (you can opt for a binding here but instead, but keep in mind it can get quite bulky).


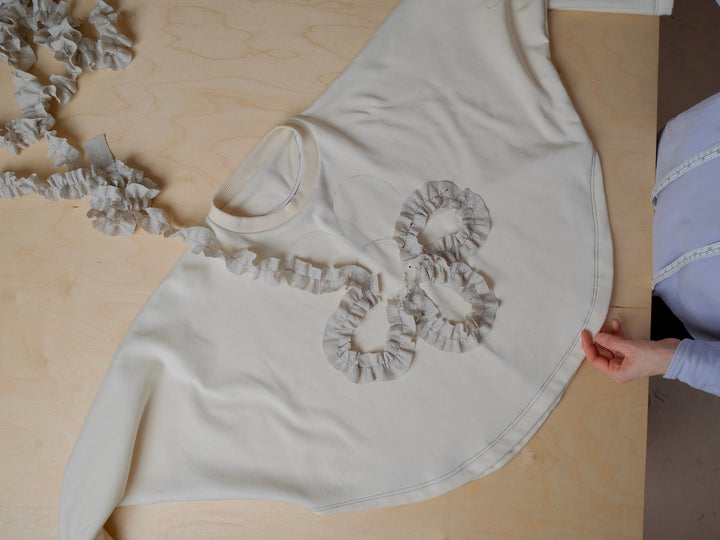
4. Now the 'easy' part is done. Next you will need to assemble your collar, which is done differently to the bell jacket pattern. As there is no lining and the quilted fabric can be very bulky it is done in such a way that reduces the bulk as much as possible, however this does take a bit of care and some hand sewing to assemble.
Start by binding the centre back edges of your collar pieces separately then sew together with a 3.5cm seam allowance and press open. Sew down the seam allowance neatly top and bottom as shown, approximately 5mm away from the raw edges.


5. Place your collar stands together in pairs and sew the centre back seam, press open and trim away the seam allowances a little at all ends. Place the collar stands together, wring sides together, and sew together around all sides around 5mm away from the raw edges.


6. Now sew a piece of light weight bias binding to the top curved edge of the collar stand, right side binding to right side collar stand and taking around a 8
mm seam allowance. This binding will be visible from the outside of the garment so use the same binding you are using to finish the rest of the jacket.


7. Now sew the other end of this binding the the underside of the collar, right side binding to right side collar, matching the centre back seams. Finally take a second strip of binding and press in the ends by around 8mm. Place this binding on the inside of the collar to cover these seams neatly. Pin in place and hand stitch down on both sides all the way along.


8. Ok so a note here: The collar I am using for the rest of this tutorial is not constructed the same way as the one you just saw, it took a while for me to find the best way to make this collar so I have done a few different iterations of this, the below collar looks a little different so don't be confused! The process to attach the collar to the neck is the same.
Now make sure you have a notch marked on the front left and right neck, it should be 4.5cm away from the centre front edges, this is the start point of your collar. Line up the the end of the collar that has the collar stand attached to it by matching the centre back point to the centre back neck. Work out at what point each end of the collar aligns with the notches on the front necks and place a pin here. Then attach a binding around the other curved end of the collar, finishing around 1cm past the point of the pin on each end.


9. Now line the collar up with the back neck again, with the right side of the garment facing up and the the wrong side of the collar facing up, as shown in the image below. Then loosely pin the raw edges flush up against each other and tack on place starting at the notch on each end.


10. Now sew a strip of binding, right side to right side, along the neckline only (not on the collar part) around 8mm away from the raw edge (the edge that is sitting flush against the collar). Press the binding up and then turn under the other end by around 1cm to the wrong side of the binding and pin in place all the way along the neckline making sure that it covers the hand tacked together edges neatly here.


11. Now take another length of binding and press in the ends to the wrong side by around 8mm on each side. Turn the jacket to the wrong side and place this strip of binding over the neckline on this side, cover the raw edges neatly and pin in place, making sure that at the centre front neck it lines up nicely with the binding on the other side, at the top edge. Hand stitch the binding in place along both edges, then turn the jacket back to the right side and hand stitch the top binding edge in place here as well.


12. Now the hard part is done! Attach a binding to the straight edges of the centre pocket seams then sew together with a 2.5cm seam allowance and press open. Neaten up the seam along the bottom edge if needed so it follows the same shape as the curve. Attach a binding to the top edge, then attach a binding around the curved edge leaving a little tail on each end to tuck under later.


13. Place the pocket onto the left hand side at your preferred height, make sure it is at least 6cm away from the centre front edge to allow for the overlap to close the jacket. Pin in place, tucking the little ends at the top under neatly. Top stitch down adding a little triangle on each top edge for strength.


14. Now you may have seen earlier the body of my jacket was very short, the fabric I have used is very narrow and for this particular pattern layout the fabric width determines the garment length, so I have now added an extra piece to the bottom to make the jacket longer. I have also added 2 rectangular patch pockets using scrap fabric, finished in the same way as the chest pocket. Finally bind the hem all the way around and then bind the centre front edges, turning in the top and bottom ends neatly to finish.


You can also add buttons and button holes here if you like, horizontal button holes look lovely on this jacket, the first one starting around 2cm down from the top edge and the the others spaced evenly below, around 11-13cm apart.
And now the jacket is finished!